Create a New Linear Form
This guide will walk you through the step-by-step process of creating a straightforward linear form using the Mogli Form Template Wizard. You'll learn how to set up a Query String, configure an SMS template, and add multiple open-ended questions. We'll also cover validation and activation, which are essential for ensuring your form works correctly within Salesforce.
Please note: This Mogli Form Template Wizard is available on Mogli v5.139.1 (Mount Elbert) and above. You can find the older method of creating Linear Form Templates via records here.
Step-by-Step Guide to Create a New Linear Form
Go to the Form Template Wizard Tab: In the Form Template Wizard app, find and click the Form Template Wizard tab.
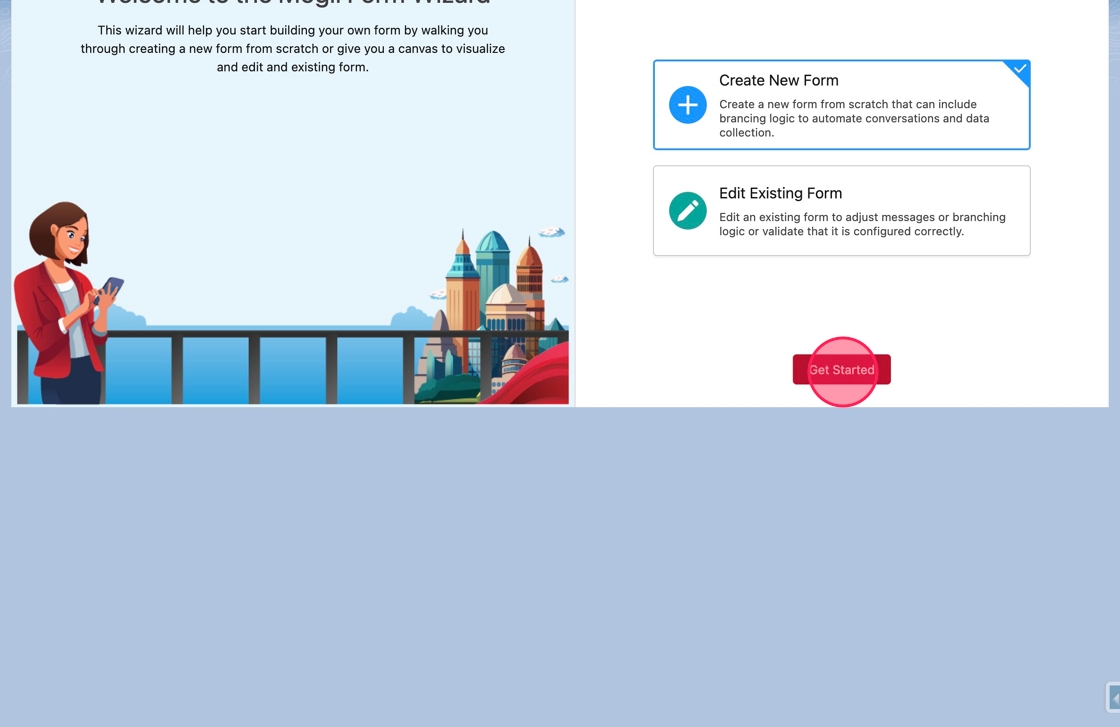
Select "Create New Form": On the welcome screen, click the Create New Form button (look for the plus icon).
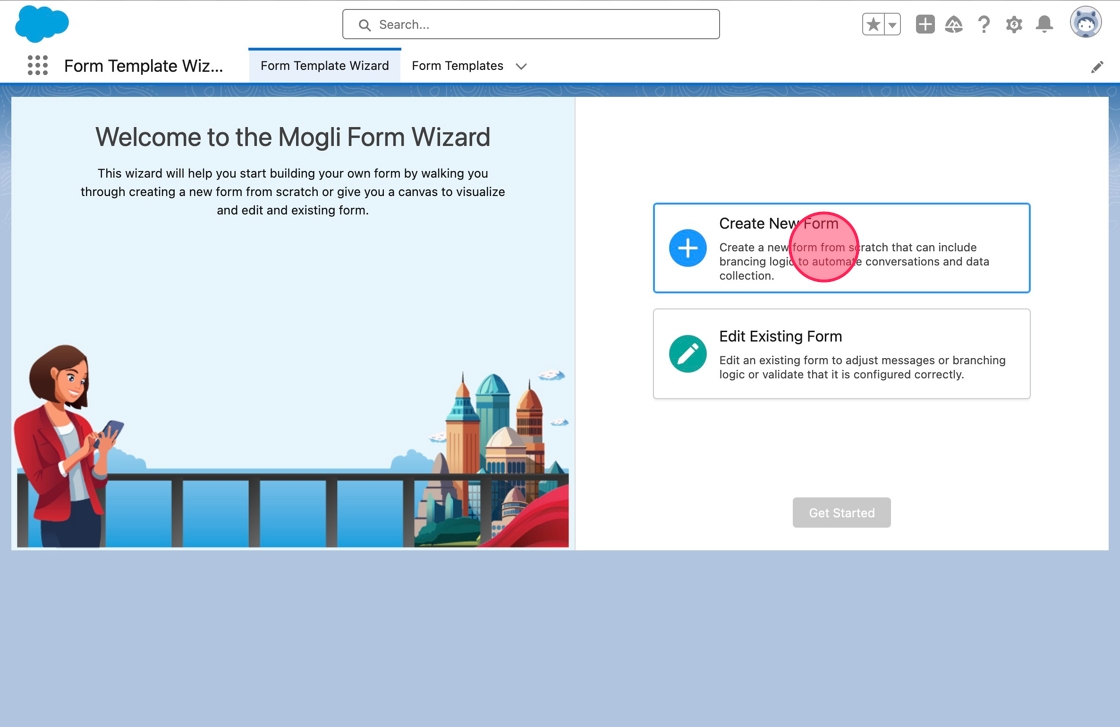
Click "Get Started": To begin building your new form template, click the Get Started button.
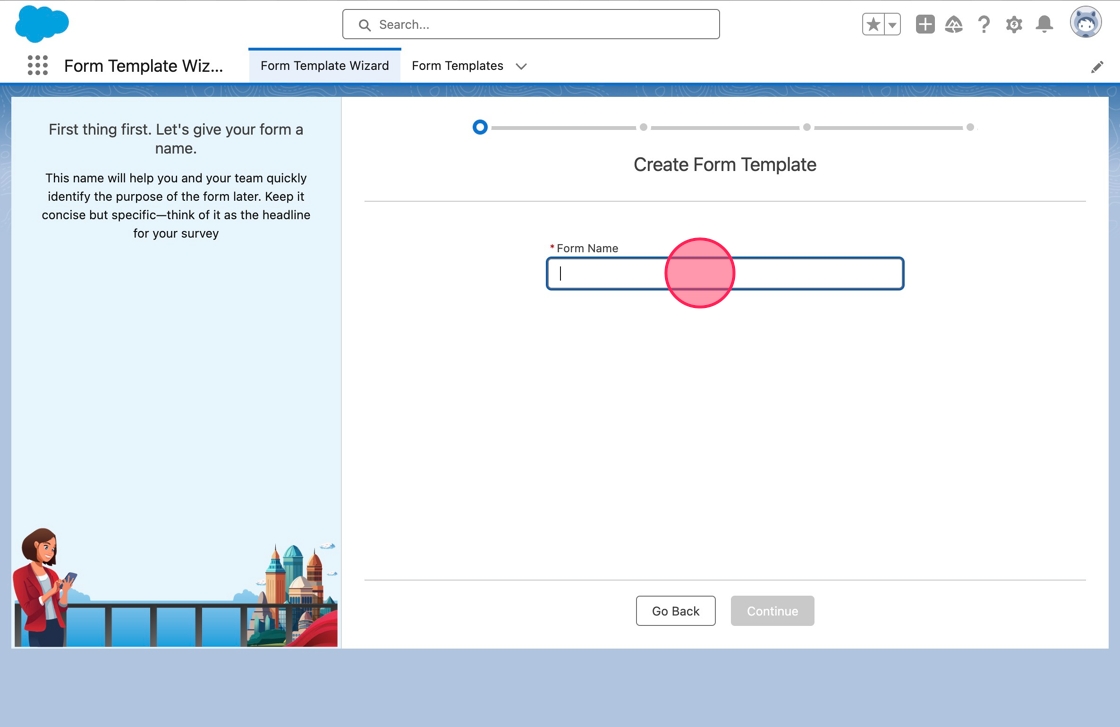
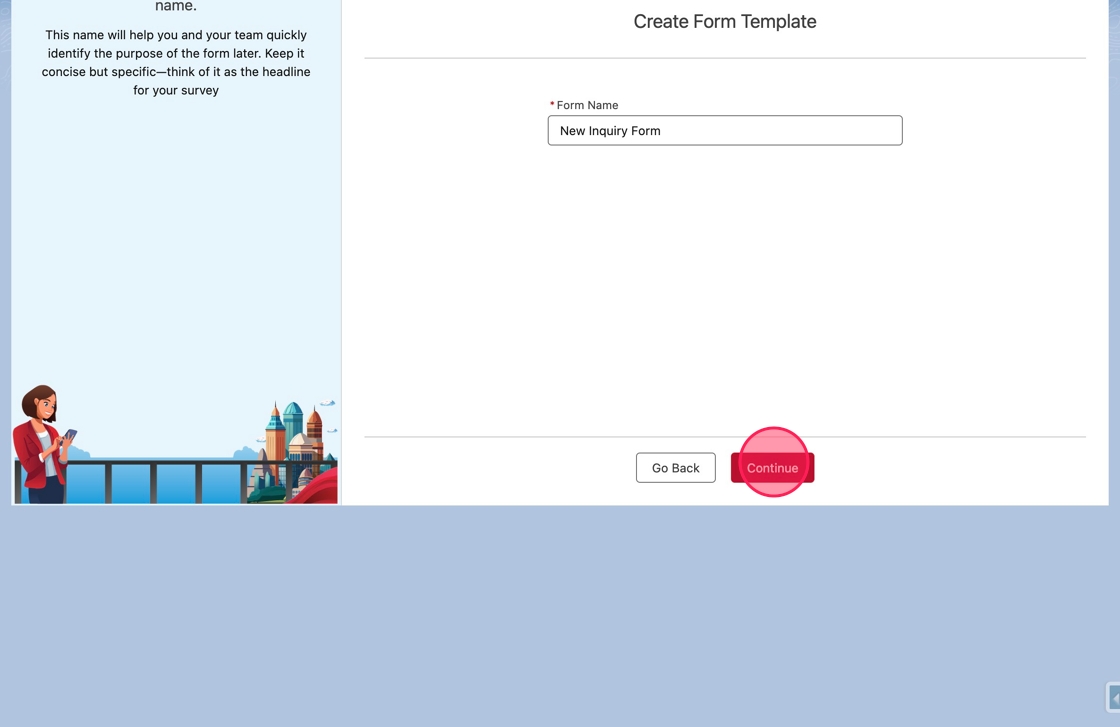
Name Your Form: Click or tab into the Form Name field and type New Inquiry Form.
Continue to Start Options: Click the Continue button to proceed.
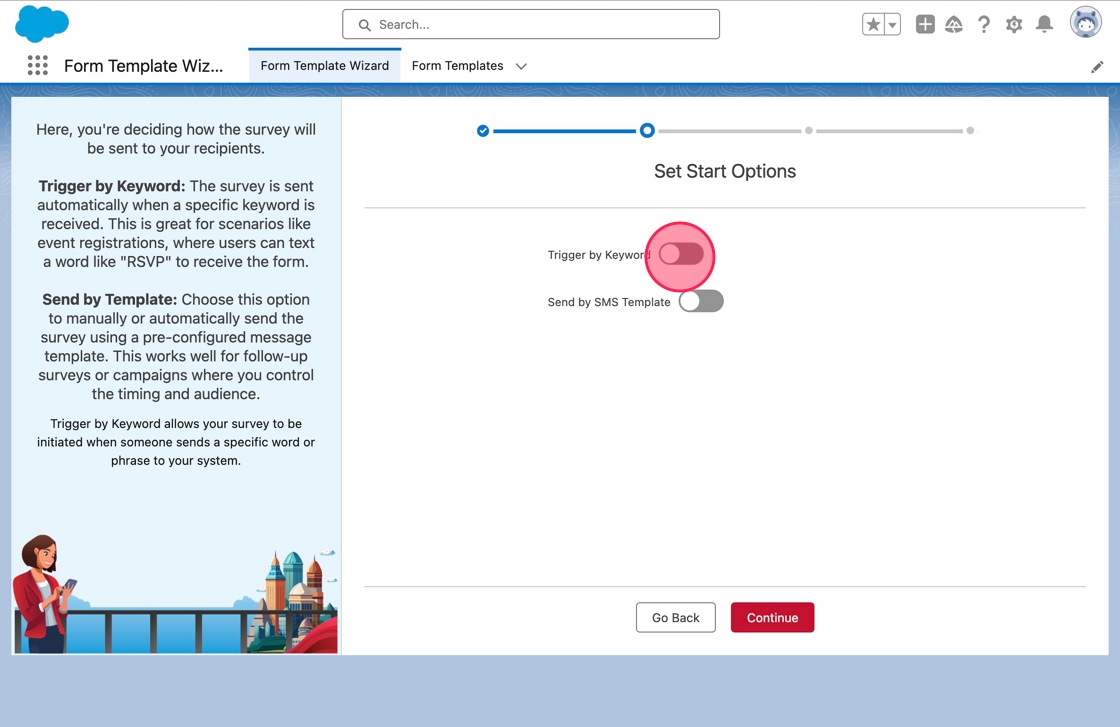
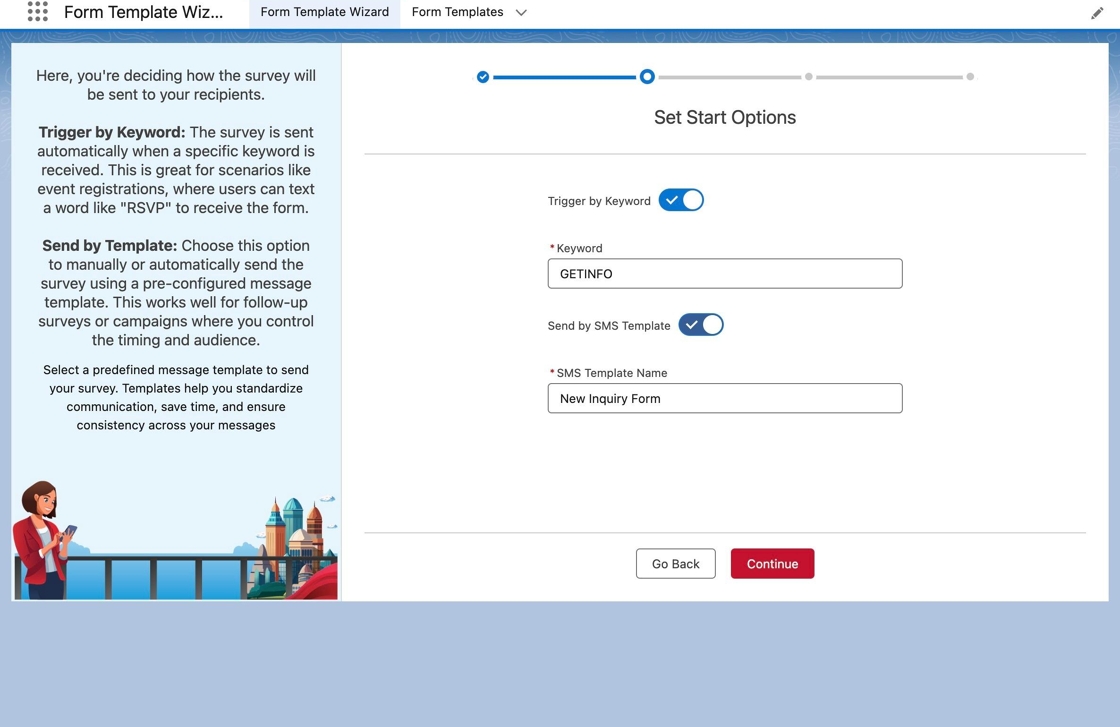
Set Start Options: Set how the form will be initiated:
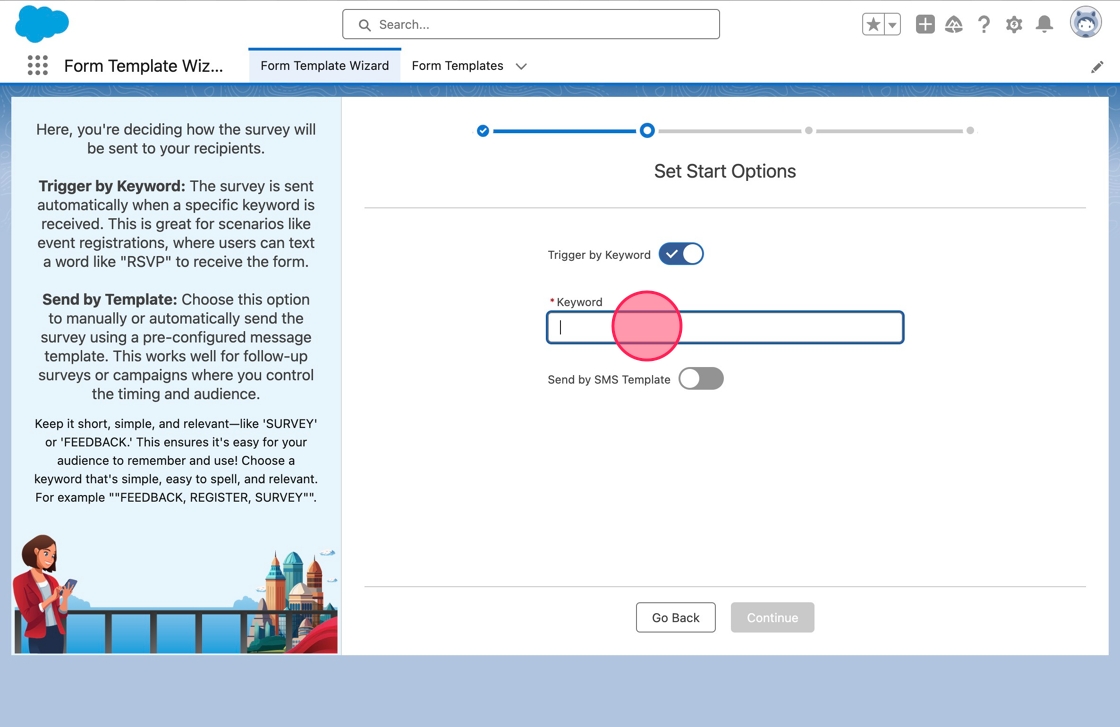
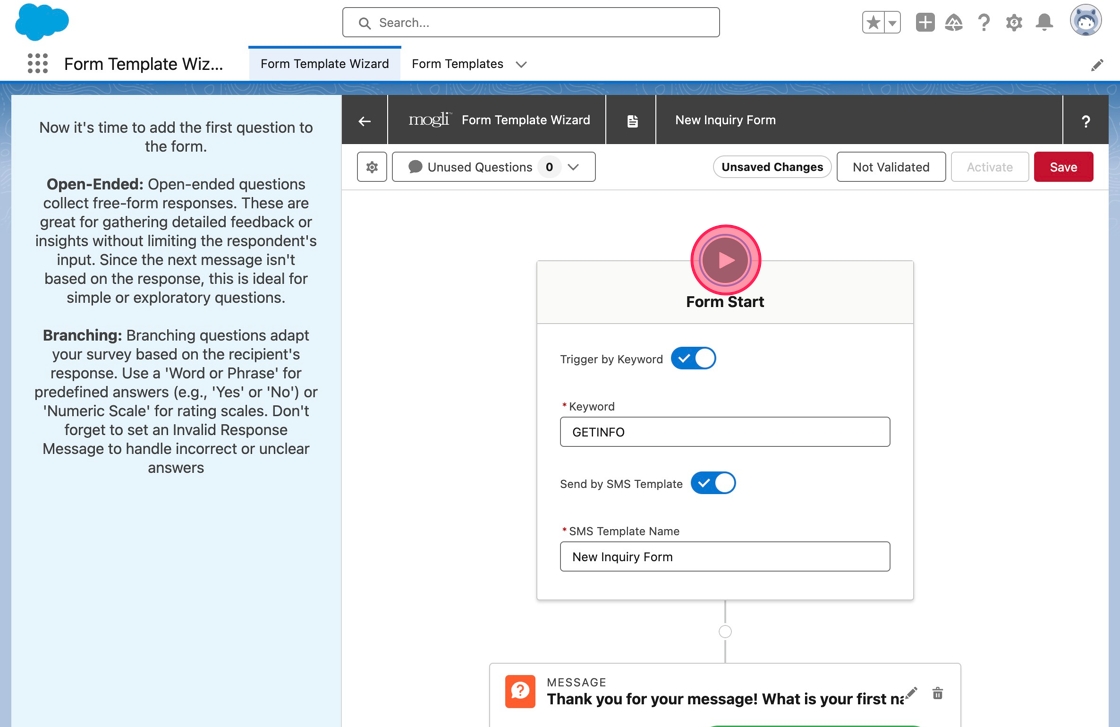
Trigger by Keyword: Trigger the form in response to an incoming keyword. Click the toggle next to Trigger By Keyword to enable it. Then, click or tab into the Keyword field and type GETINFO.
Send by SMS Template: To enable manual sending, click the toggle next to Send by SMS Template. The SMS Template Name will default to the name of the form, but you can change it. The system will verify that the name is unique.
Enter Keyword: Click or tab into the Keyword field and type GETINFO.
Enable SMS Template: Click the toggle next to Send by SMS Template to create an SMS Template that allows users to send the form manually.
Important: The SMS Template will be created only after the form has been activated.
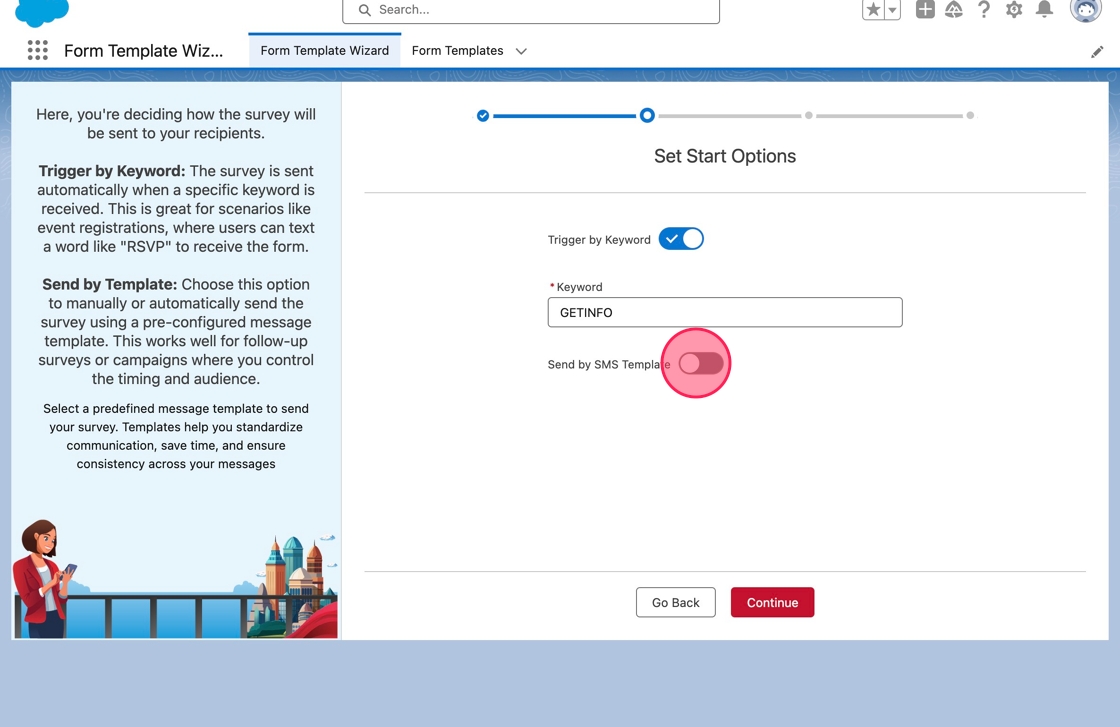
The SMS Template Name will default to the name of the form. The name can be changed if desired, and the system will validate that an SMS Template does not already exist with the same name.
Reminder: The SMS Template will be created only after the form has been activated.
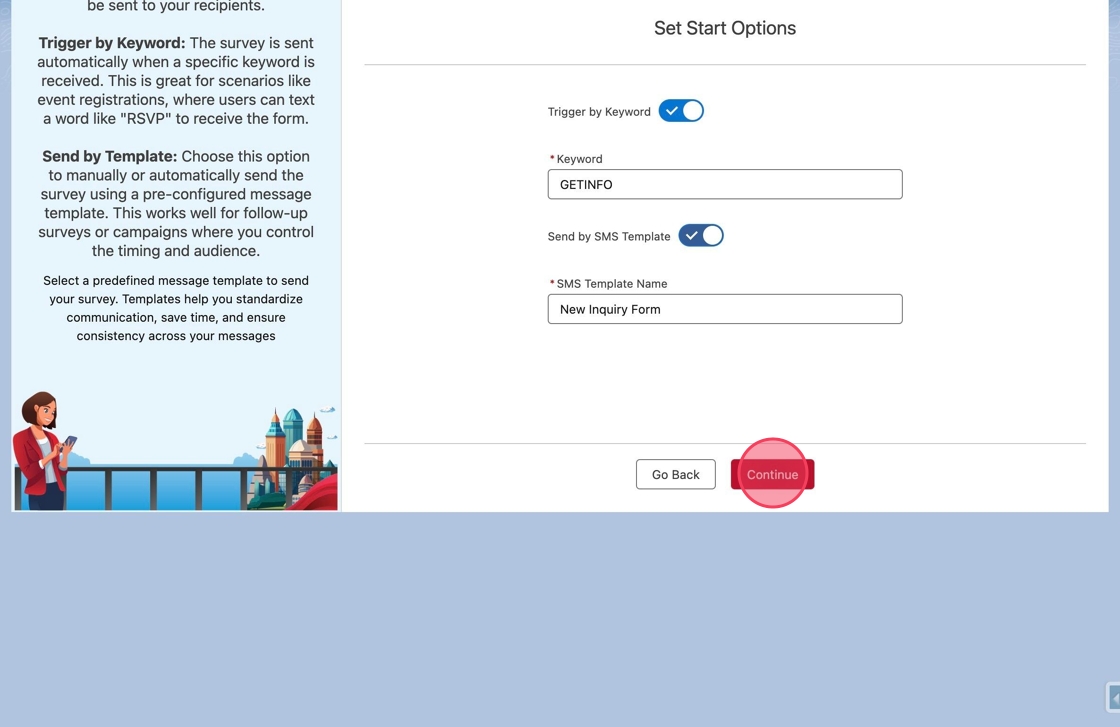
Click Continue: Click Continue to proceed to the next step.
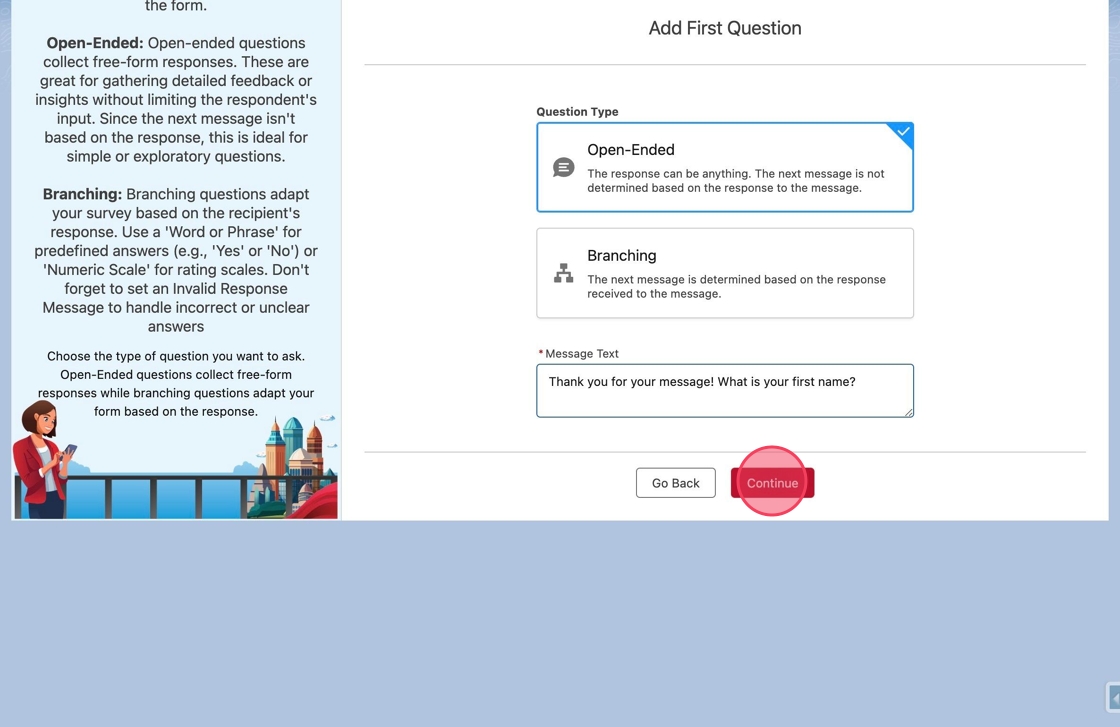
Create the First Question (Open-Ended): Ensure Open-Ended is selected as the Question Type.
Open-Ended questions accept any response and proceed to the next question of the form or to complete it.
Branching questions accept any response and proceed to the next question of the form to complete it.
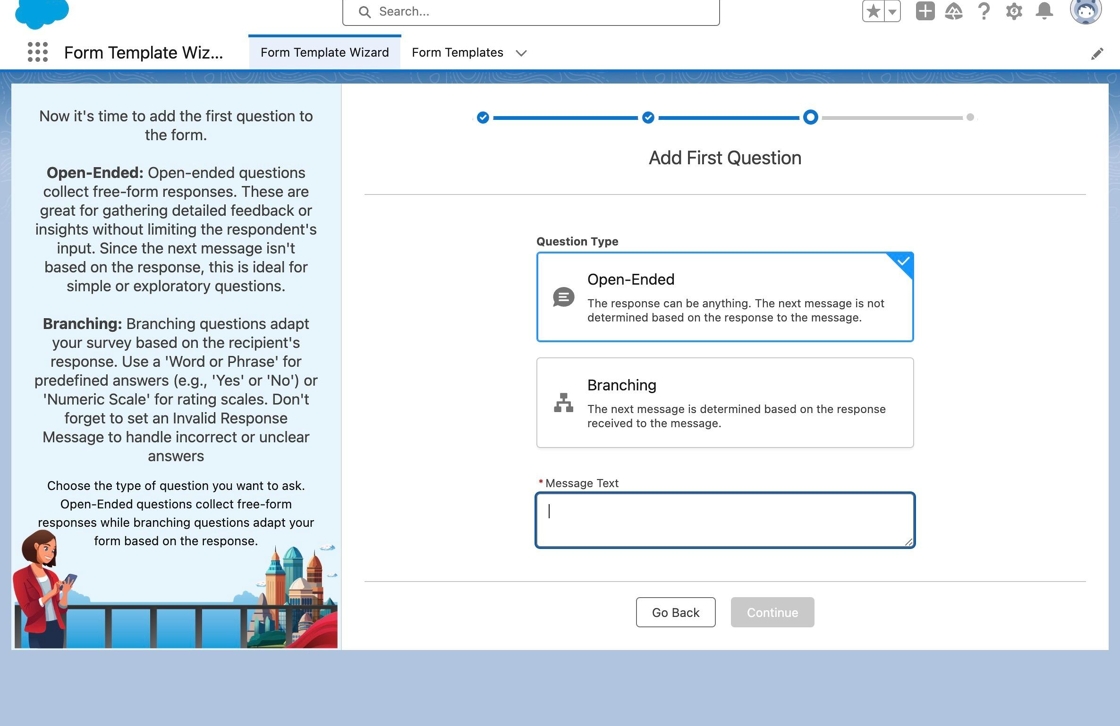
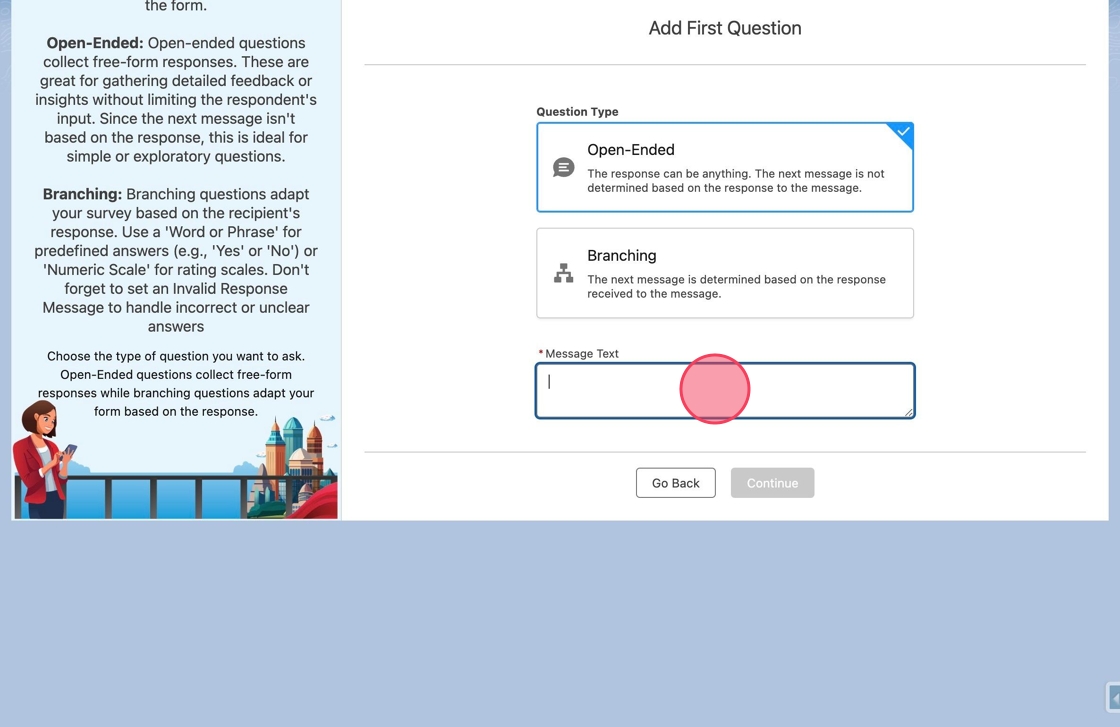
Enter First Question Text: Click or tab into the Message Text field and type:
Thank you for your message! What is your first name?
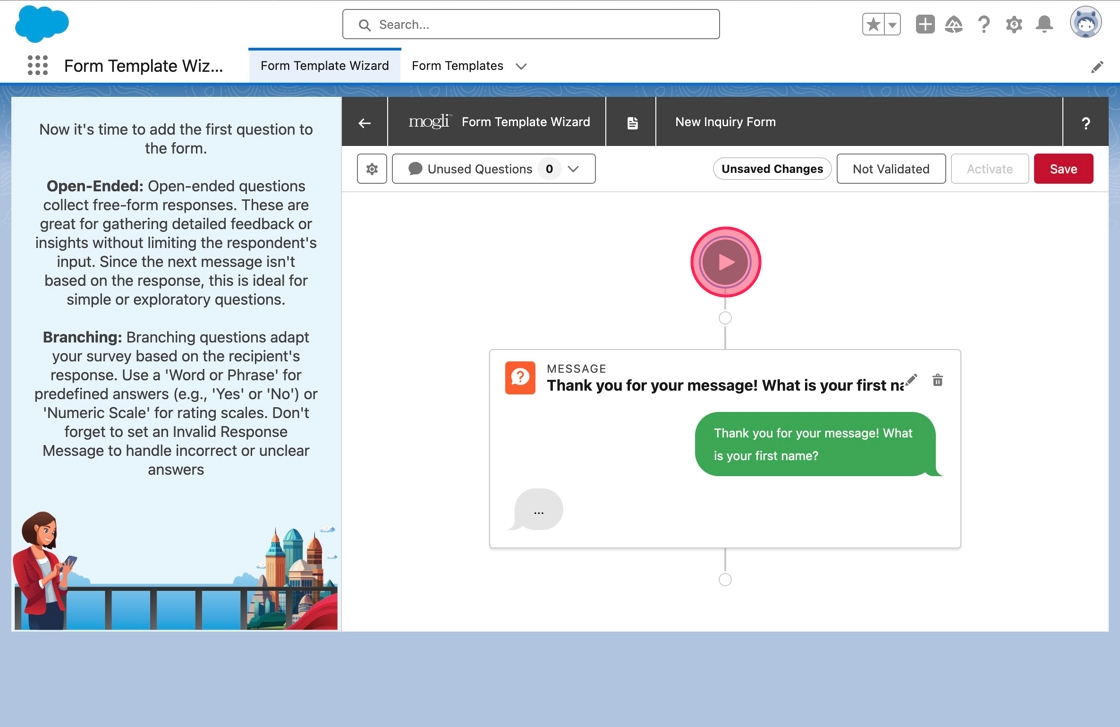
Proceed to the Canvas: Click Continue to access the form-building canvas. Here, you'll see a linear view of your form and can add, edit, or remove elements.
Canvas Options: Here, you'll see a linear view of your form and can add, edit, or remove elements.
Review/Edit Start Options (Canvas): If needed, you can update the start options from the canvas. Click the Start node to open the Form Start menu, where you can adjust the Keyword and SMS Template settings. Click the Start node again to close the menu.
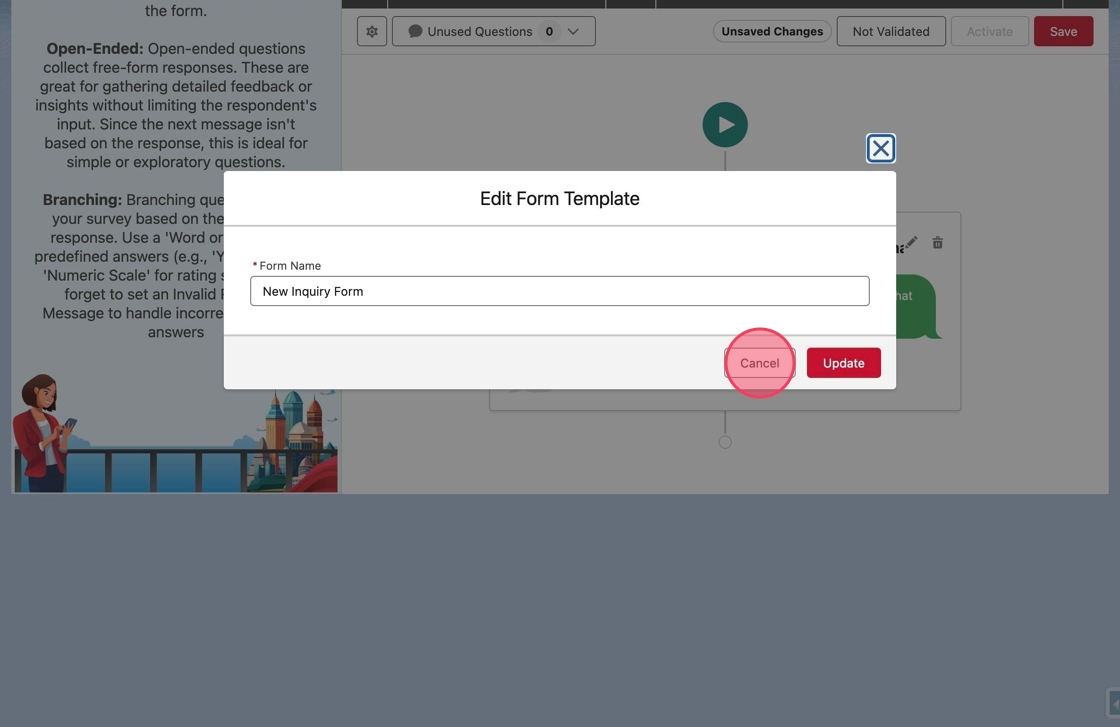
Edit Form Properties (Canvas): To change other form properties like the Name, click the gear icon in the top-left of the canvas toolbar.
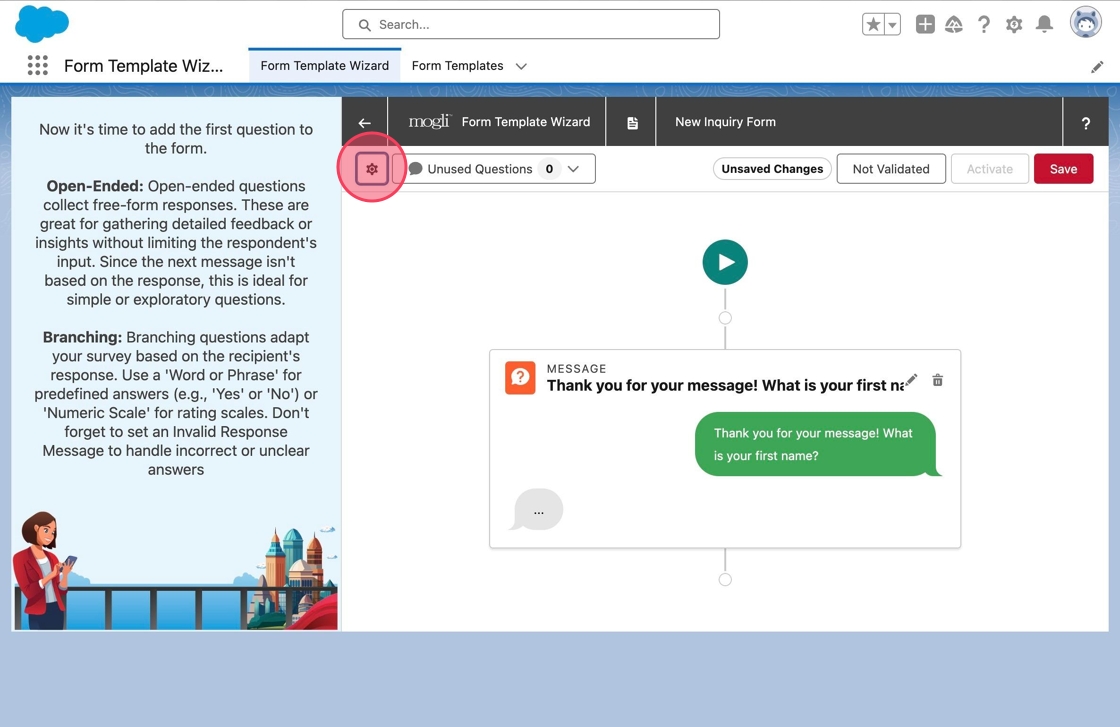
Cancel form property updates: A modal will appear that enables updating properties of the Form Template. Click Cancel to close the modal without making any changes for now.
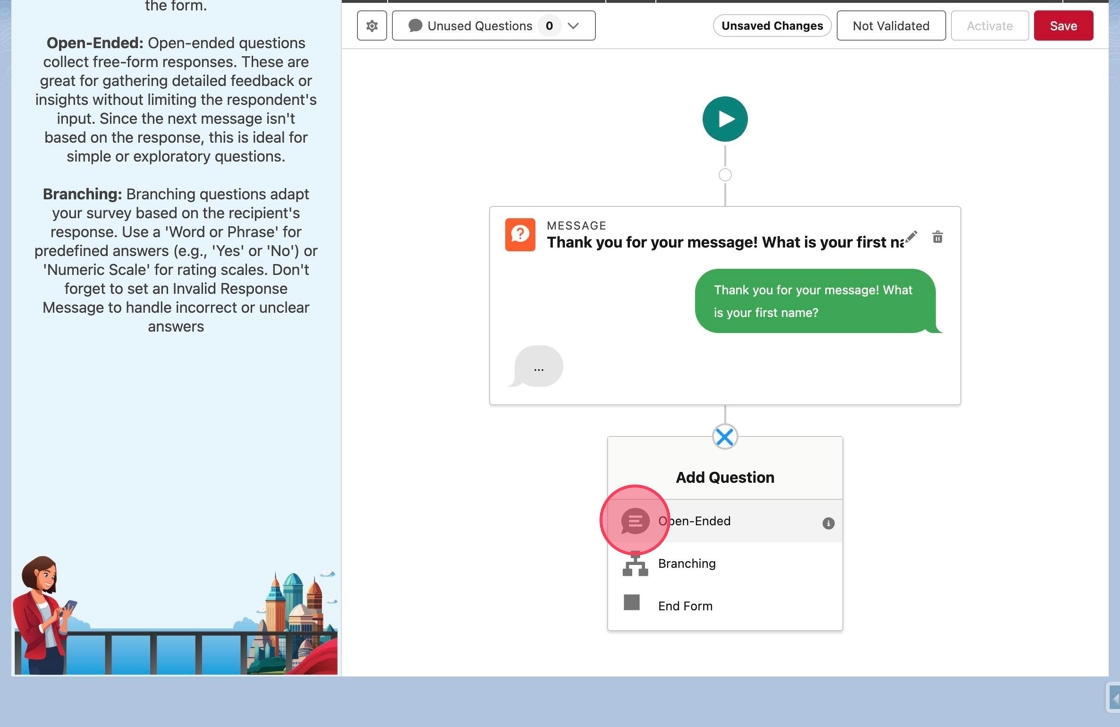
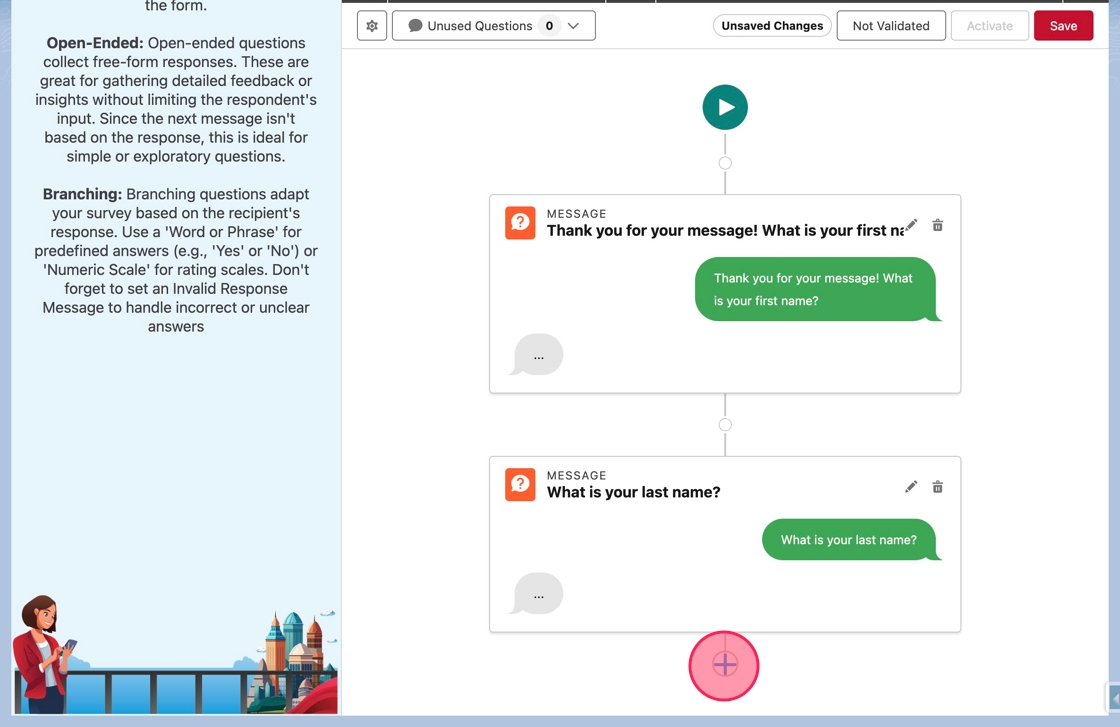
Add a second question: Back on the canvas, add a second question to the form. Click on the Add Question node below the existing question.
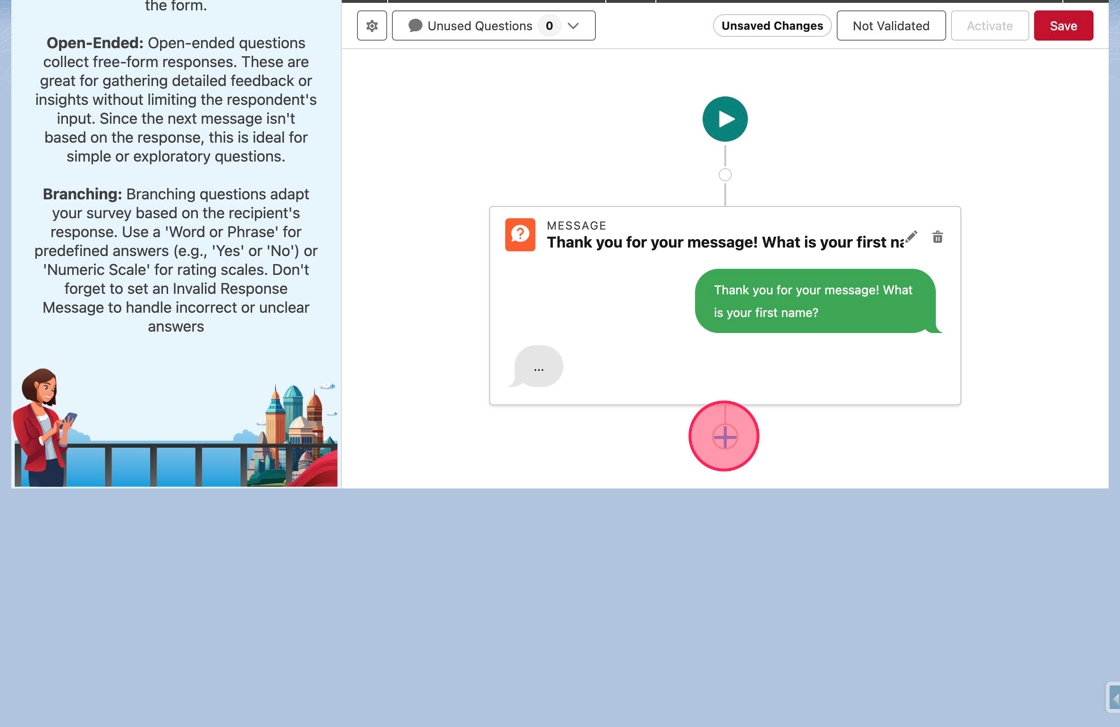
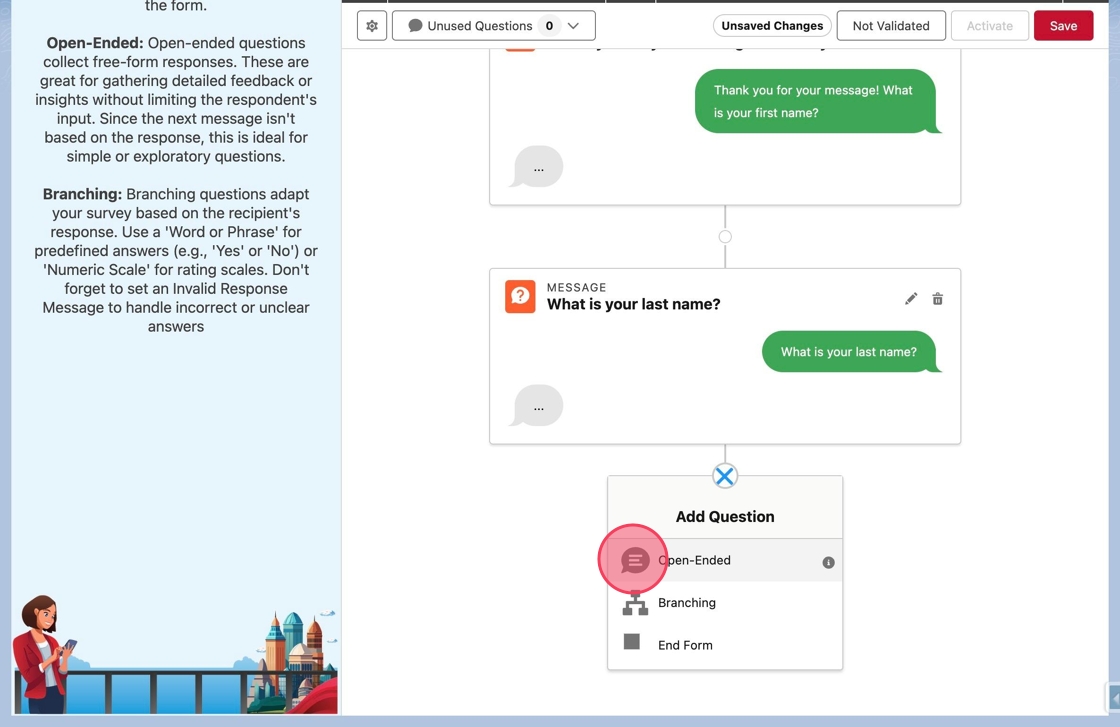
Select question type: The Add Question menu will appear. Click Open-Ended to add a new Open-Ended question.
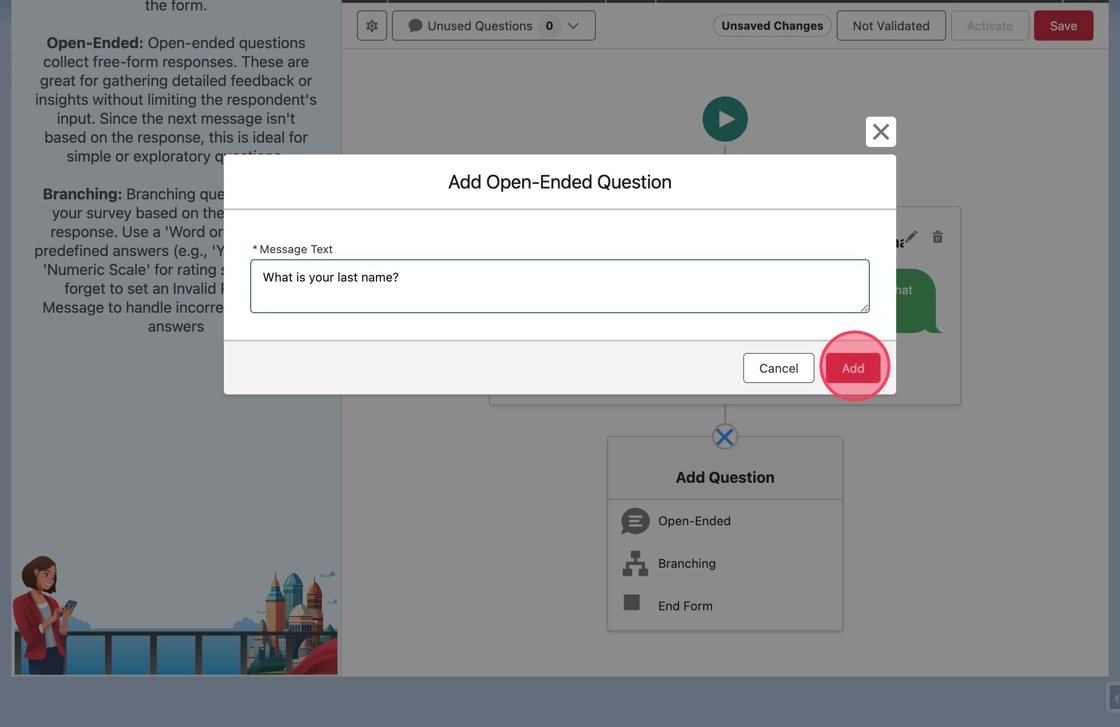
Enter second question text: The Add Open-Ended Question modal will appear. Click or tab into the Message Text field. Type
What is your last name?in the field.

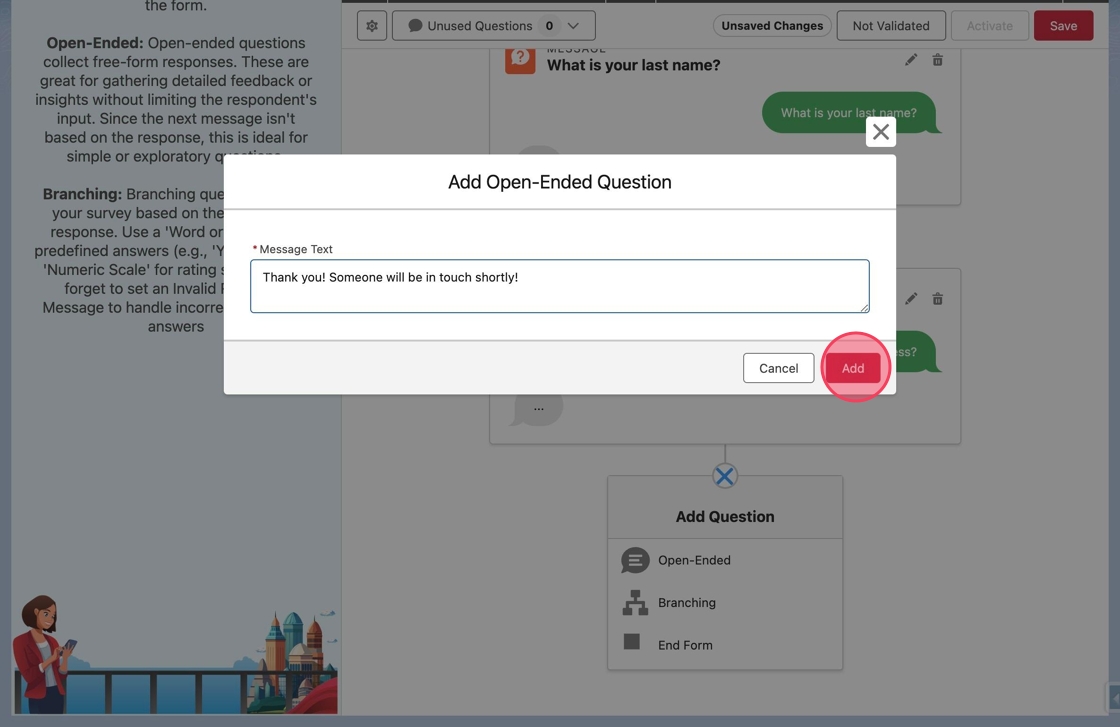
Add the second question: Click Add to add the question.
Add another question: The modal will close, and the new question will appear on the canvas. Click the Add Question node at the bottom to add another question.
Select question type (again): Again, click Open-Ended to add a new Open-Ended question.
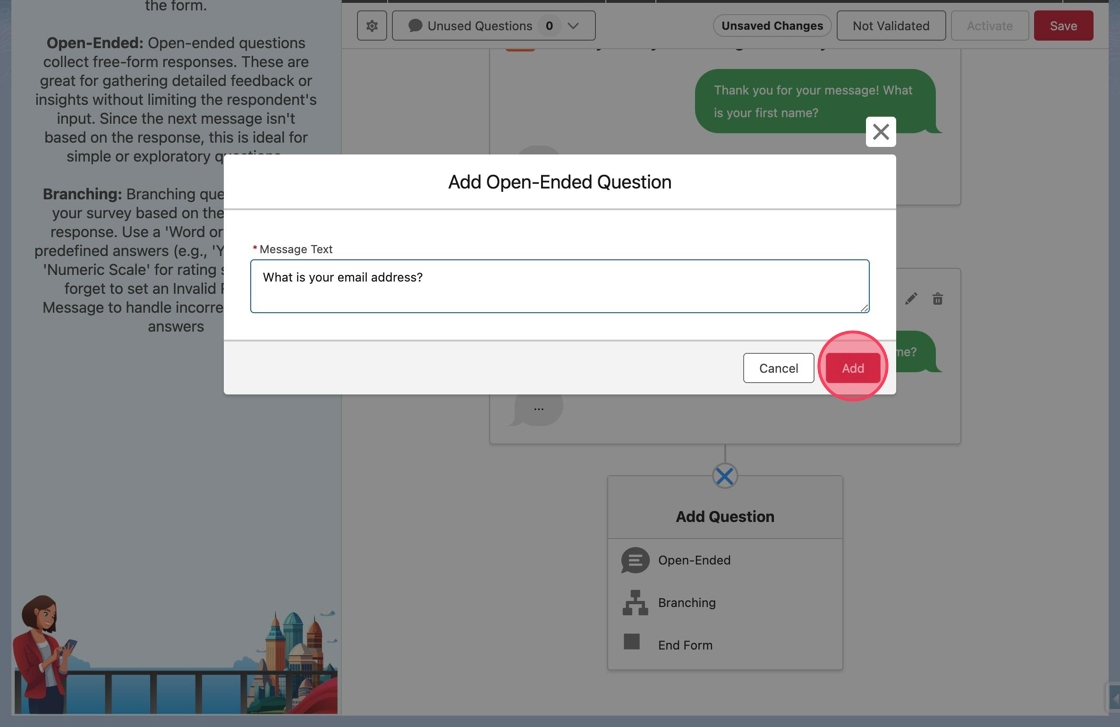
Enter third question text: The Add Open-Ended Question modal will appear as before. Click or tab into the Message Text field. Type
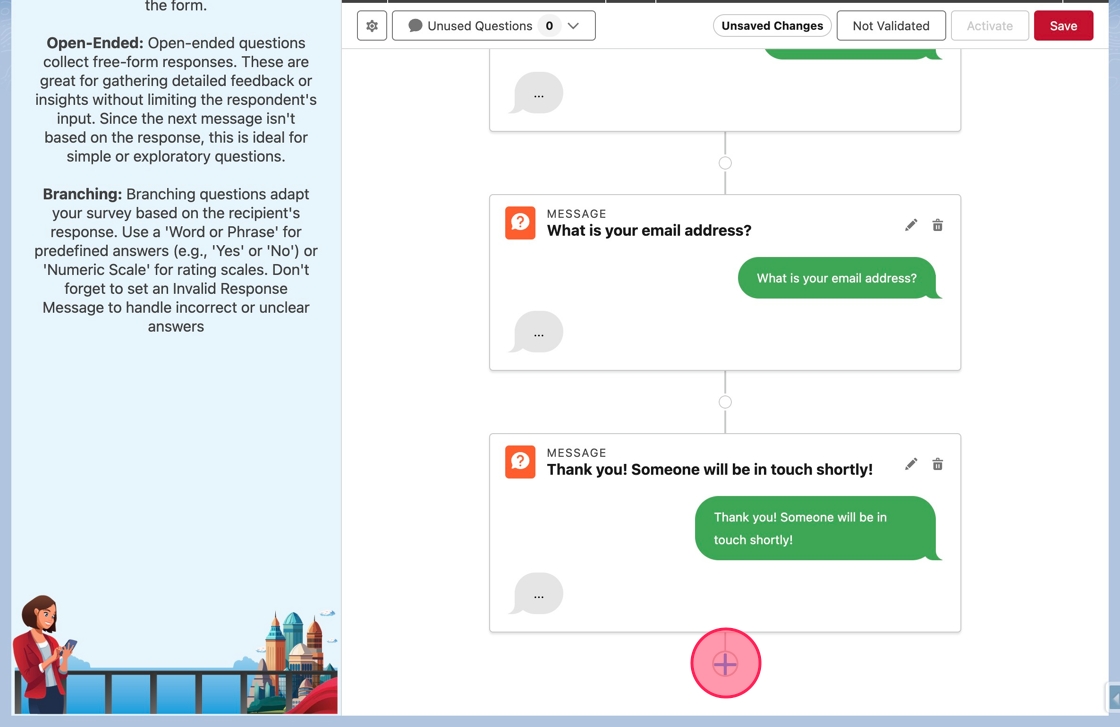
What is your email address?in the field. Click Add to add the third question.
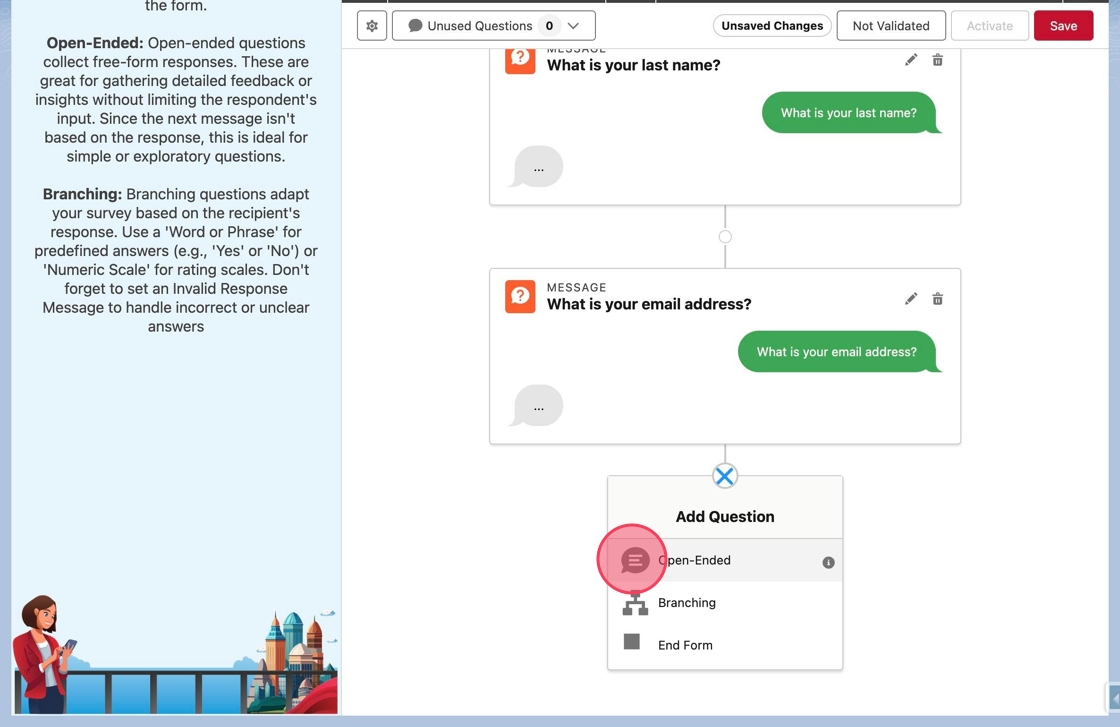
Add the final message: Now the form will ask three questions. To add the final message, click the Add Question node again.

Select question type (final message): Choose Open-Ended from the menu again.
Tip: Branching questions can never be used to end a form.
Enter final message text: The Add Open-Ended Question modal will appear. Click or tab into the Message Text field and type
Thank you! Someone will be in touch shortly!for the final message. Click Add to add the response.
End the form: Now the final message has been added, but the form still needs to be ended. Click the Add Question node after the final message.
Select "End Form": In the Add Question menu, this time click End Form.
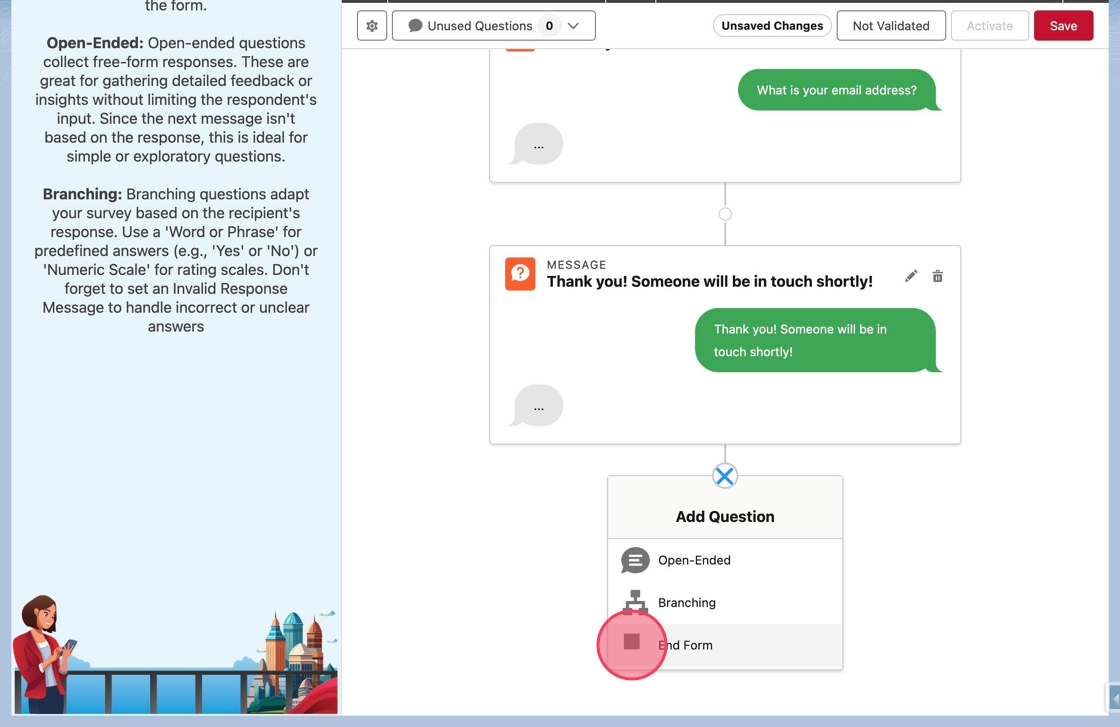
Observe "End" icon: The menu will close and an End icon will appear. This indicates that the form will be completed after the previous question.

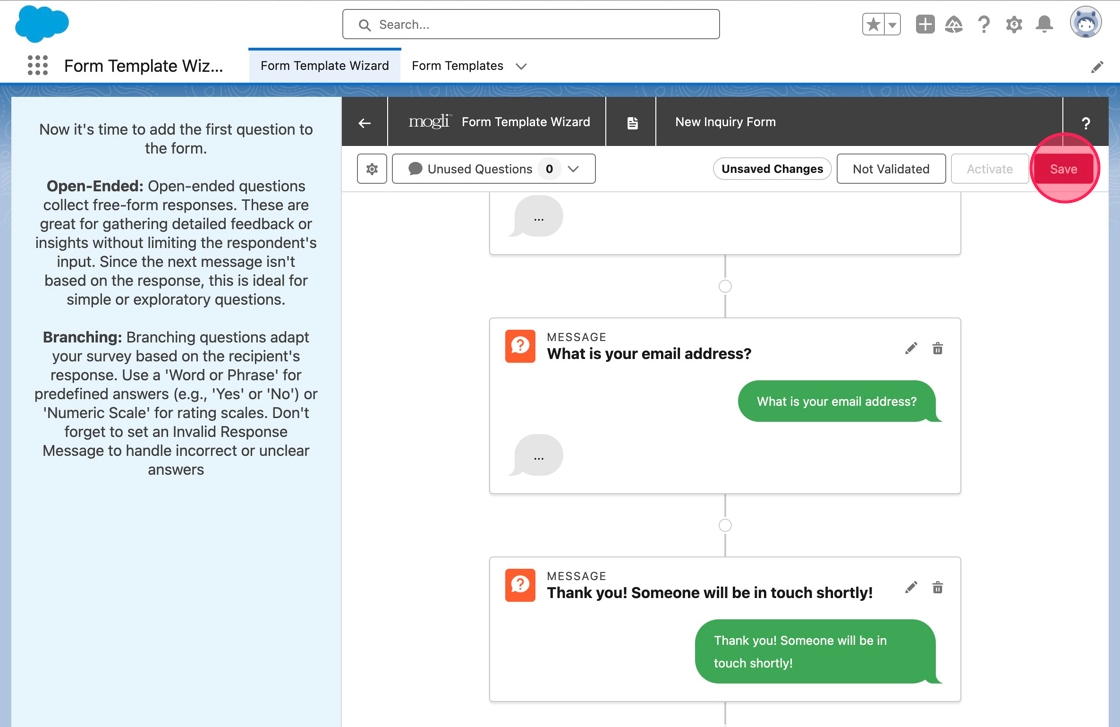
Note "Unsaved Changes" badge: Notice in the toolbar at the top, there is an Unsaved Changes badge noting there are currently changes made to the form that are not saved in Salesforce.
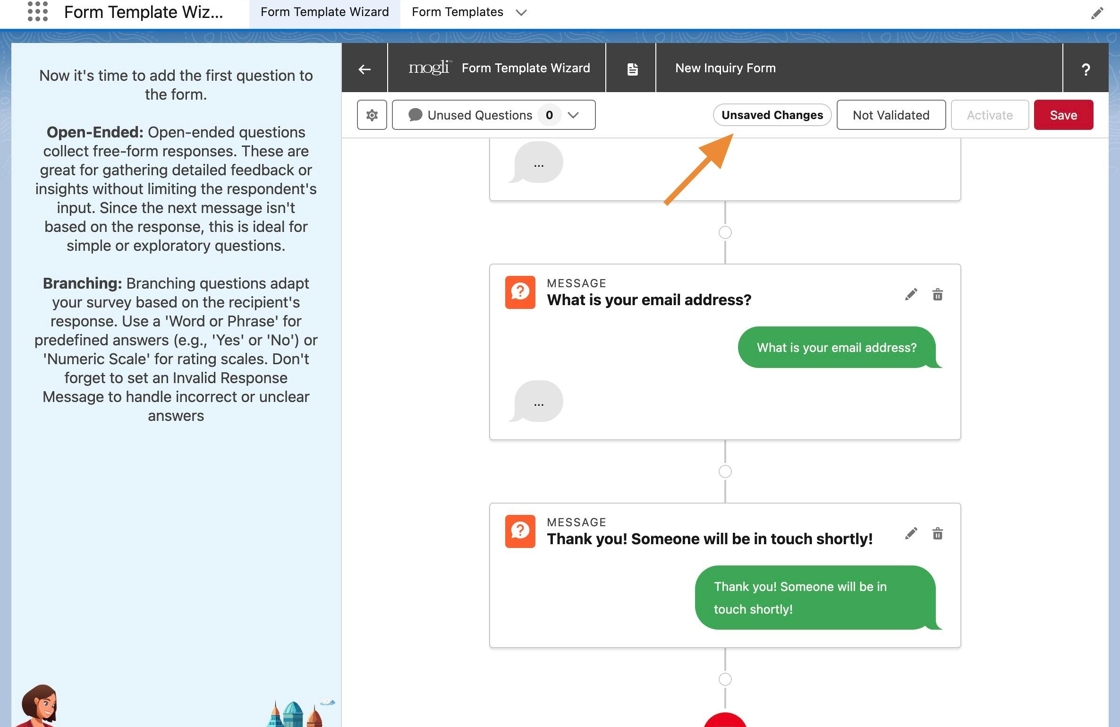
Save changes: Click Save to save these changes.
Observe disappearance of badge: Upon save, the Unsaved Changes badge will disappear.
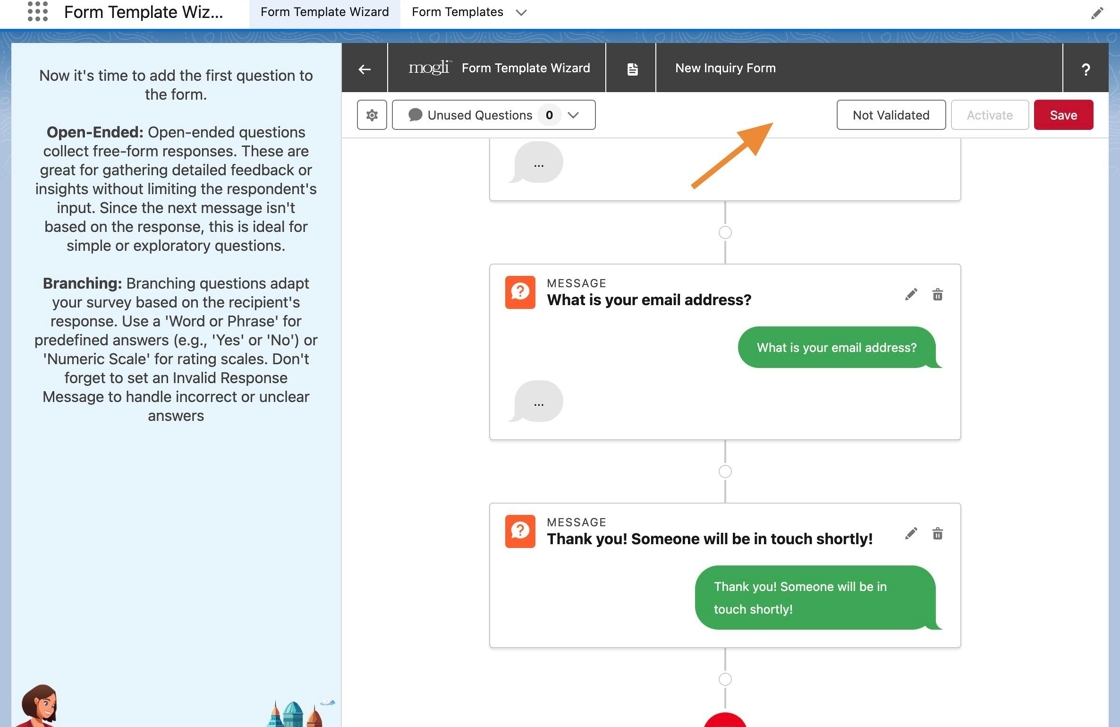
Note "Not Validated" button: Also, notice there is a Not Validated button in the toolbar. A form can be validated from the canvas. This runs a process in Salesforce to validate all Question Templates and Possible Answers included in a form. Most notably, it will identify when next questions have not been specified or the form completed. A form cannot be activated until it has been validated. Click Not Validated to validate the form.
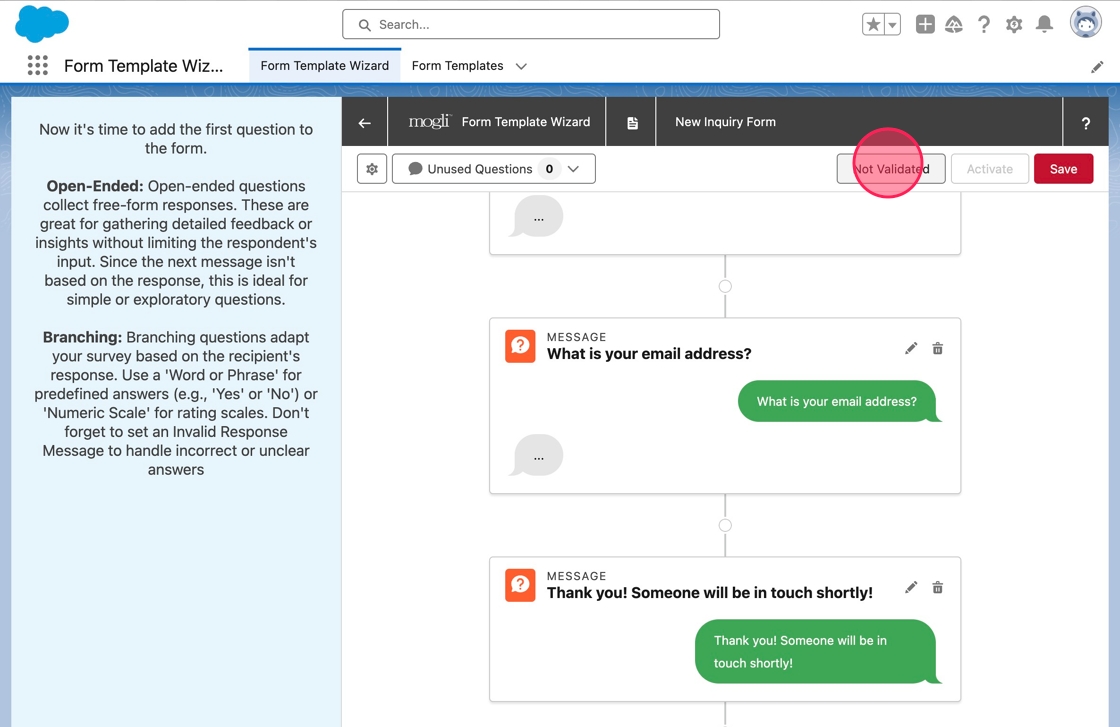
Check validation status: Upon completing validation, the label will change to Validated, and the button will be disabled. Additionally, a green check icon or red error icon will appear noting if the form was validated successfully or not.

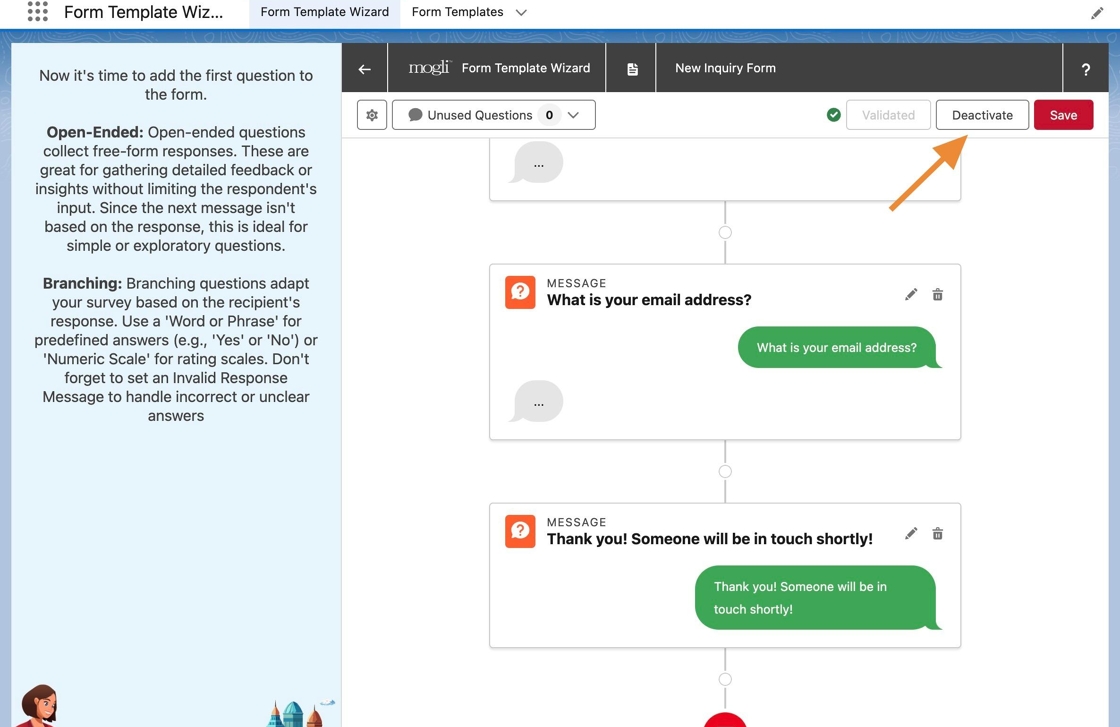
Activate the form: Because the form was validated and no errors were identified, the Activate button is enabled. Click Activate to activate the form.
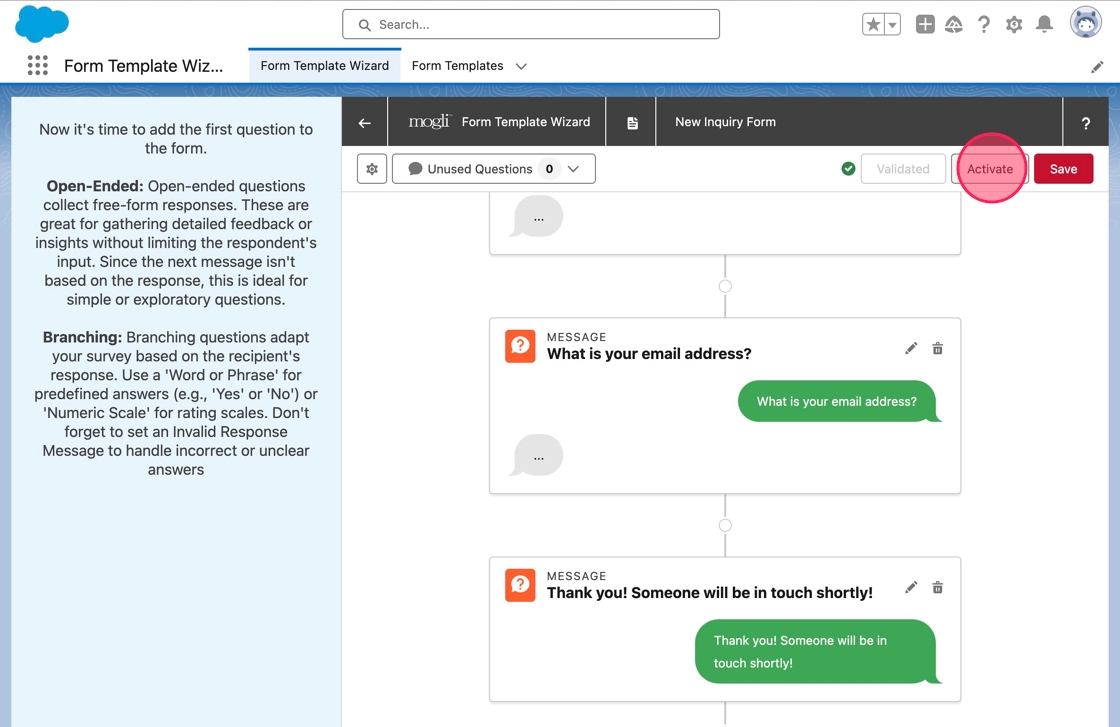
Confirm activation status: Upon activation, Activate will update to Deactivate.
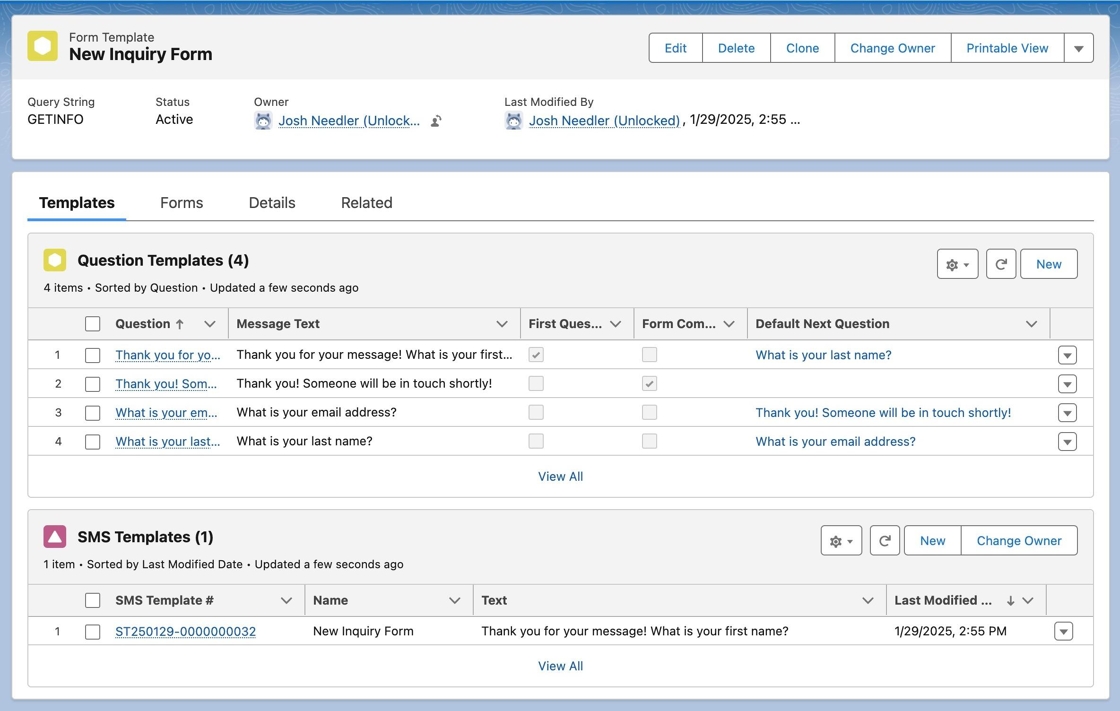
Verify form in Salesforce: The form is now saved and activated in Salesforce. Navigate to Form Templates, find, and open New Inquiry Form. Notice that the form has been created accordingly and includes the Question Templates and SMS Template.