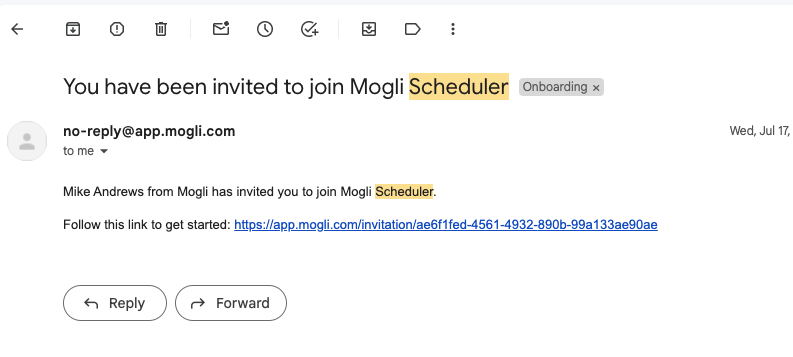
Your invited users will receive an email invitation to Mogli Scheduler. Each user will need to set up their meeting, add their calendars, and link them to their Salesforce.
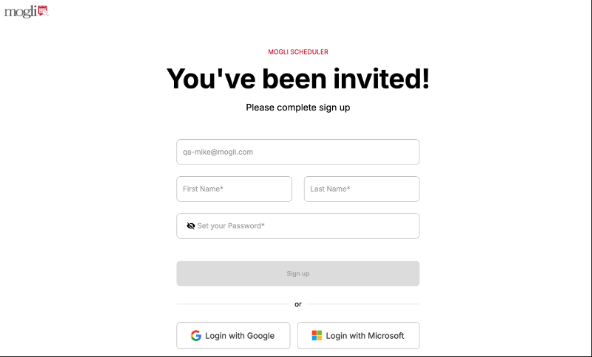
Step 1 - User Creation
Create a Profile by setting up a Username and Password
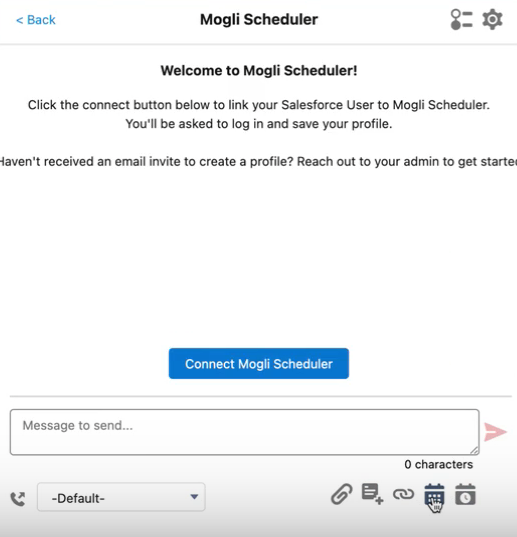
Step 2 - User Connects to Salesforce
- Navigate to the Mogli Conversation View on a Salesforce Record
- Select Mogli Scheduler Icon
- Click “Connect Salesforce and Scheduling User” button
- **Note: Doing this will redirect the user to app.mogli.com > it will update the User ID automatically
- Click Save
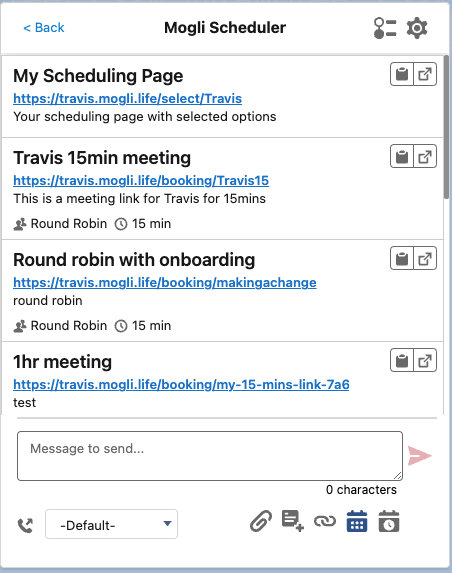
Step 3 - Creating Scheduling Links
Create Scheduling Links and Set Availability
Note: Refer to Scheduler FAQ to learn more about Meeting Types
Step 4 - Test
To test setup, return to a Salesforce Record that shows the Mogli SMS Conversation View, select the Scheduler icon, and the user's personalized links should populate!